Quick revs: Pandora Ransomware - The Box has been open for a while...
Hey there, I’m finally getting around to introducing the new post category “Quick revs”, which will feature short write-ups of various malware …
After checking the projects and self-organized Sessions I couldn’t find anything related to Malware Research or a place to discuss reverse engineering (besides CTF maybe), so with the “Malware XCHG” I want to create a place for attendees to share malicious binaries and discuss them at the same time.
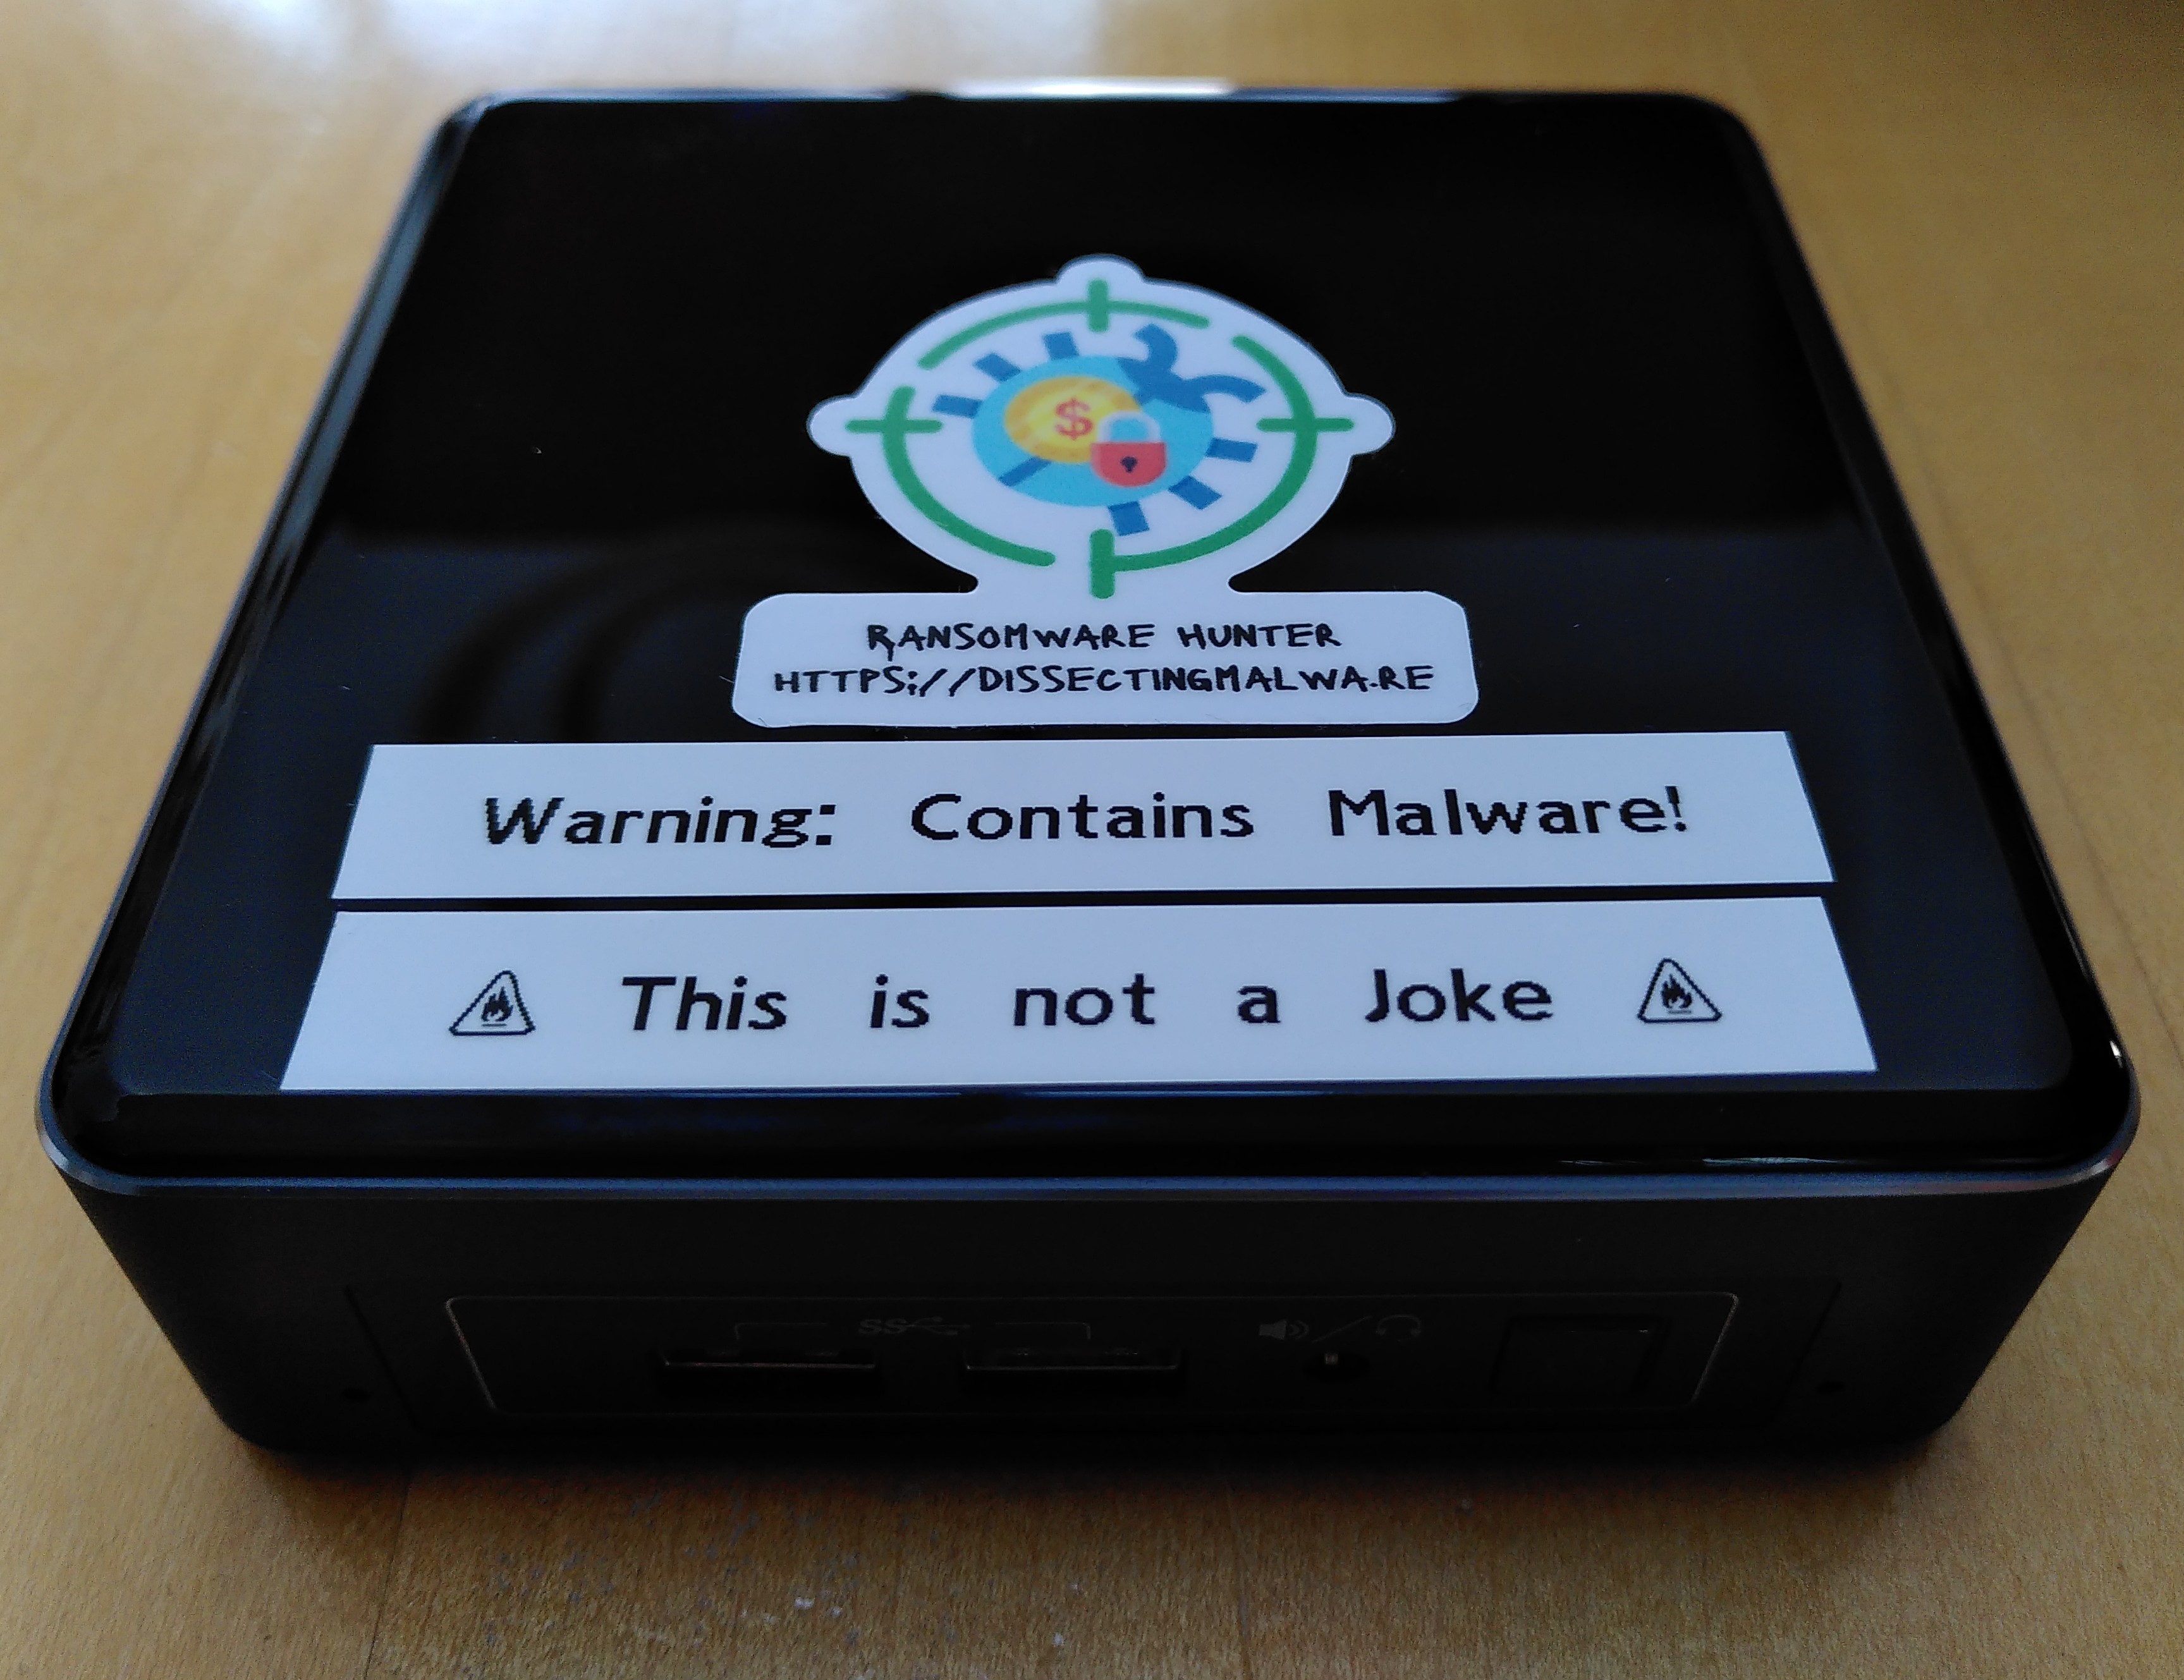
To host this project at the MysteryHack Assembly I wanted to use a small but capable enough machine which is why I used the Intel NUC NUC7I3BNH that I had lying around at the time. Of course the box has to be isolated from the congress network so everyone interested will have to plug in via Ethernet over a switch. At first I wanted to set up a Cuckoo Sandbox instance, but because of a lack of time and computing resources the Viper Framework became the tool of choice.
Viper is available on Github:
The first thing we should do is install all the dependencies viper requires to run properly.
sudo apt install git build-essential python3 python3-dev python3-pip exiftool clamav-daemon tor libdpkg-perl libssl-dev swig libffi-dev ssdeep libfuzzy-dev unrar p7zip-full
And because installing dependencies is fun let’s install some more! This time we’ll take care of the necessary Python modules.
sudo pip3 install olefile pdftools pypdns pydeep virustotal-api yara pefile scrapy

And a custom module for the viper-framework:
sudo pip3 install git+https://github.com/sebdraven/verify-sigs.git
After that is done we can finally install the viper-framework via pip:
sudo pip3 install viper-framework
Running viper for the first time will create a folder called .viper in your home directory. This is were all the files, databases, notes etc. are saved.
And let’s not forget the django Webinterface for viper:
cd .viper
git clone https://github.com/jdsnape/viper-web.git
cd viper-web
./viper-web
Of course viper-web has some dependencies as well:
sudo pip3 install -r requirements.txt
Up we have to configure the Webinterface in viper.conf located in .viper:
Scroll down to the [web] section and define a user/password combo and the host + port settings. I chose Port 4434 and 0.0.0.0 as the host to make it reachable for connecting devices.
[web]
host = 0.0.0.0
port = 4434
tls = False
certificate =
key =
admin_username = ccc
admin_password = malwarexchg
Finally we can run ./viper-web to start up viper and the django server.

One last step to get it operational: Setting up networking and iptables sorta correctly. (I locked myself out twice while writing this, so ideally you want to have physical access to the machince whilst installing this).
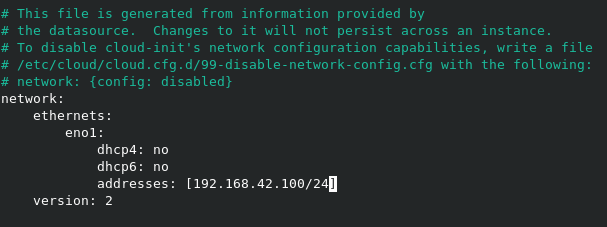
The following screenshot shows the netplan config I’m using.
And here’s a short exerpt from my iptables. (I’m using iptables-persistent)
Chain INPUT (policy ACCEPT 0 packets, 0 bytes)
 pkts bytes target     prot opt in     out     source               destination
  330 24289 ACCEPT     tcp  --  any    any     192.168.42.0/24      anywhere             tcp dpt:ssh
    0     0 ACCEPT     tcp  --  any    any     localhost/8          anywhere             tcp dpt:ssh
  337 35307 ACCEPT     tcp  --  any    any     192.168.42.0/24      anywhere             tcp dpt:4434
    0     0 ACCEPT     tcp  --  any    any     localhost/8          anywhere             tcp dpt:4434
    0     0 ACCEPT     udp  --  any    any     192.168.42.0/24      anywhere             udp dpt:4434
    0     0 ACCEPT     udp  --  any    any     localhost/8          anywhere             udp dpt:4434
  552 41468 ACCEPT     all  --  lo     any     anywhere             anywhere
    0     0 REJECT     all  --  any    any     anywhere             anywhere             reject-with icmp-port-unreachable


Chain FORWARD (policy ACCEPT 0 packets, 0 bytes)
 pkts bytes target     prot opt in     out     source               destination

Chain OUTPUT (policy ACCEPT 965 packets, 602K bytes)
 pkts bytes target     prot opt in     out     source               destination
    0     0 ACCEPT     tcp  --  any    any     192.168.42.0/24      anywhere             tcp dpt:4434
    0     0 ACCEPT     udp  --  any    any     192.168.42.0/24      anywhere             udp dpt:4434
    0     0 ACCEPT     tcp  --  any    any     localhost/8          anywhere             tcp dpt:4434
    0     0 ACCEPT     udp  --  any    any     localhost/8          anywhere             udp dpt:4434
    0     0 ACCEPT     tcp  --  any    any     localhost/8          anywhere             tcp dpt:ssh
    0     0 ACCEPT     tcp  --  any    any     192.168.42.0/24      anywhere             tcp dpt:ssh
    0     0 REJECT     all  --  any    any     anywhere             anywhere             reject-with icmp-port-unreachable
Here is a photo of the Project at 36c3 in Leipzig
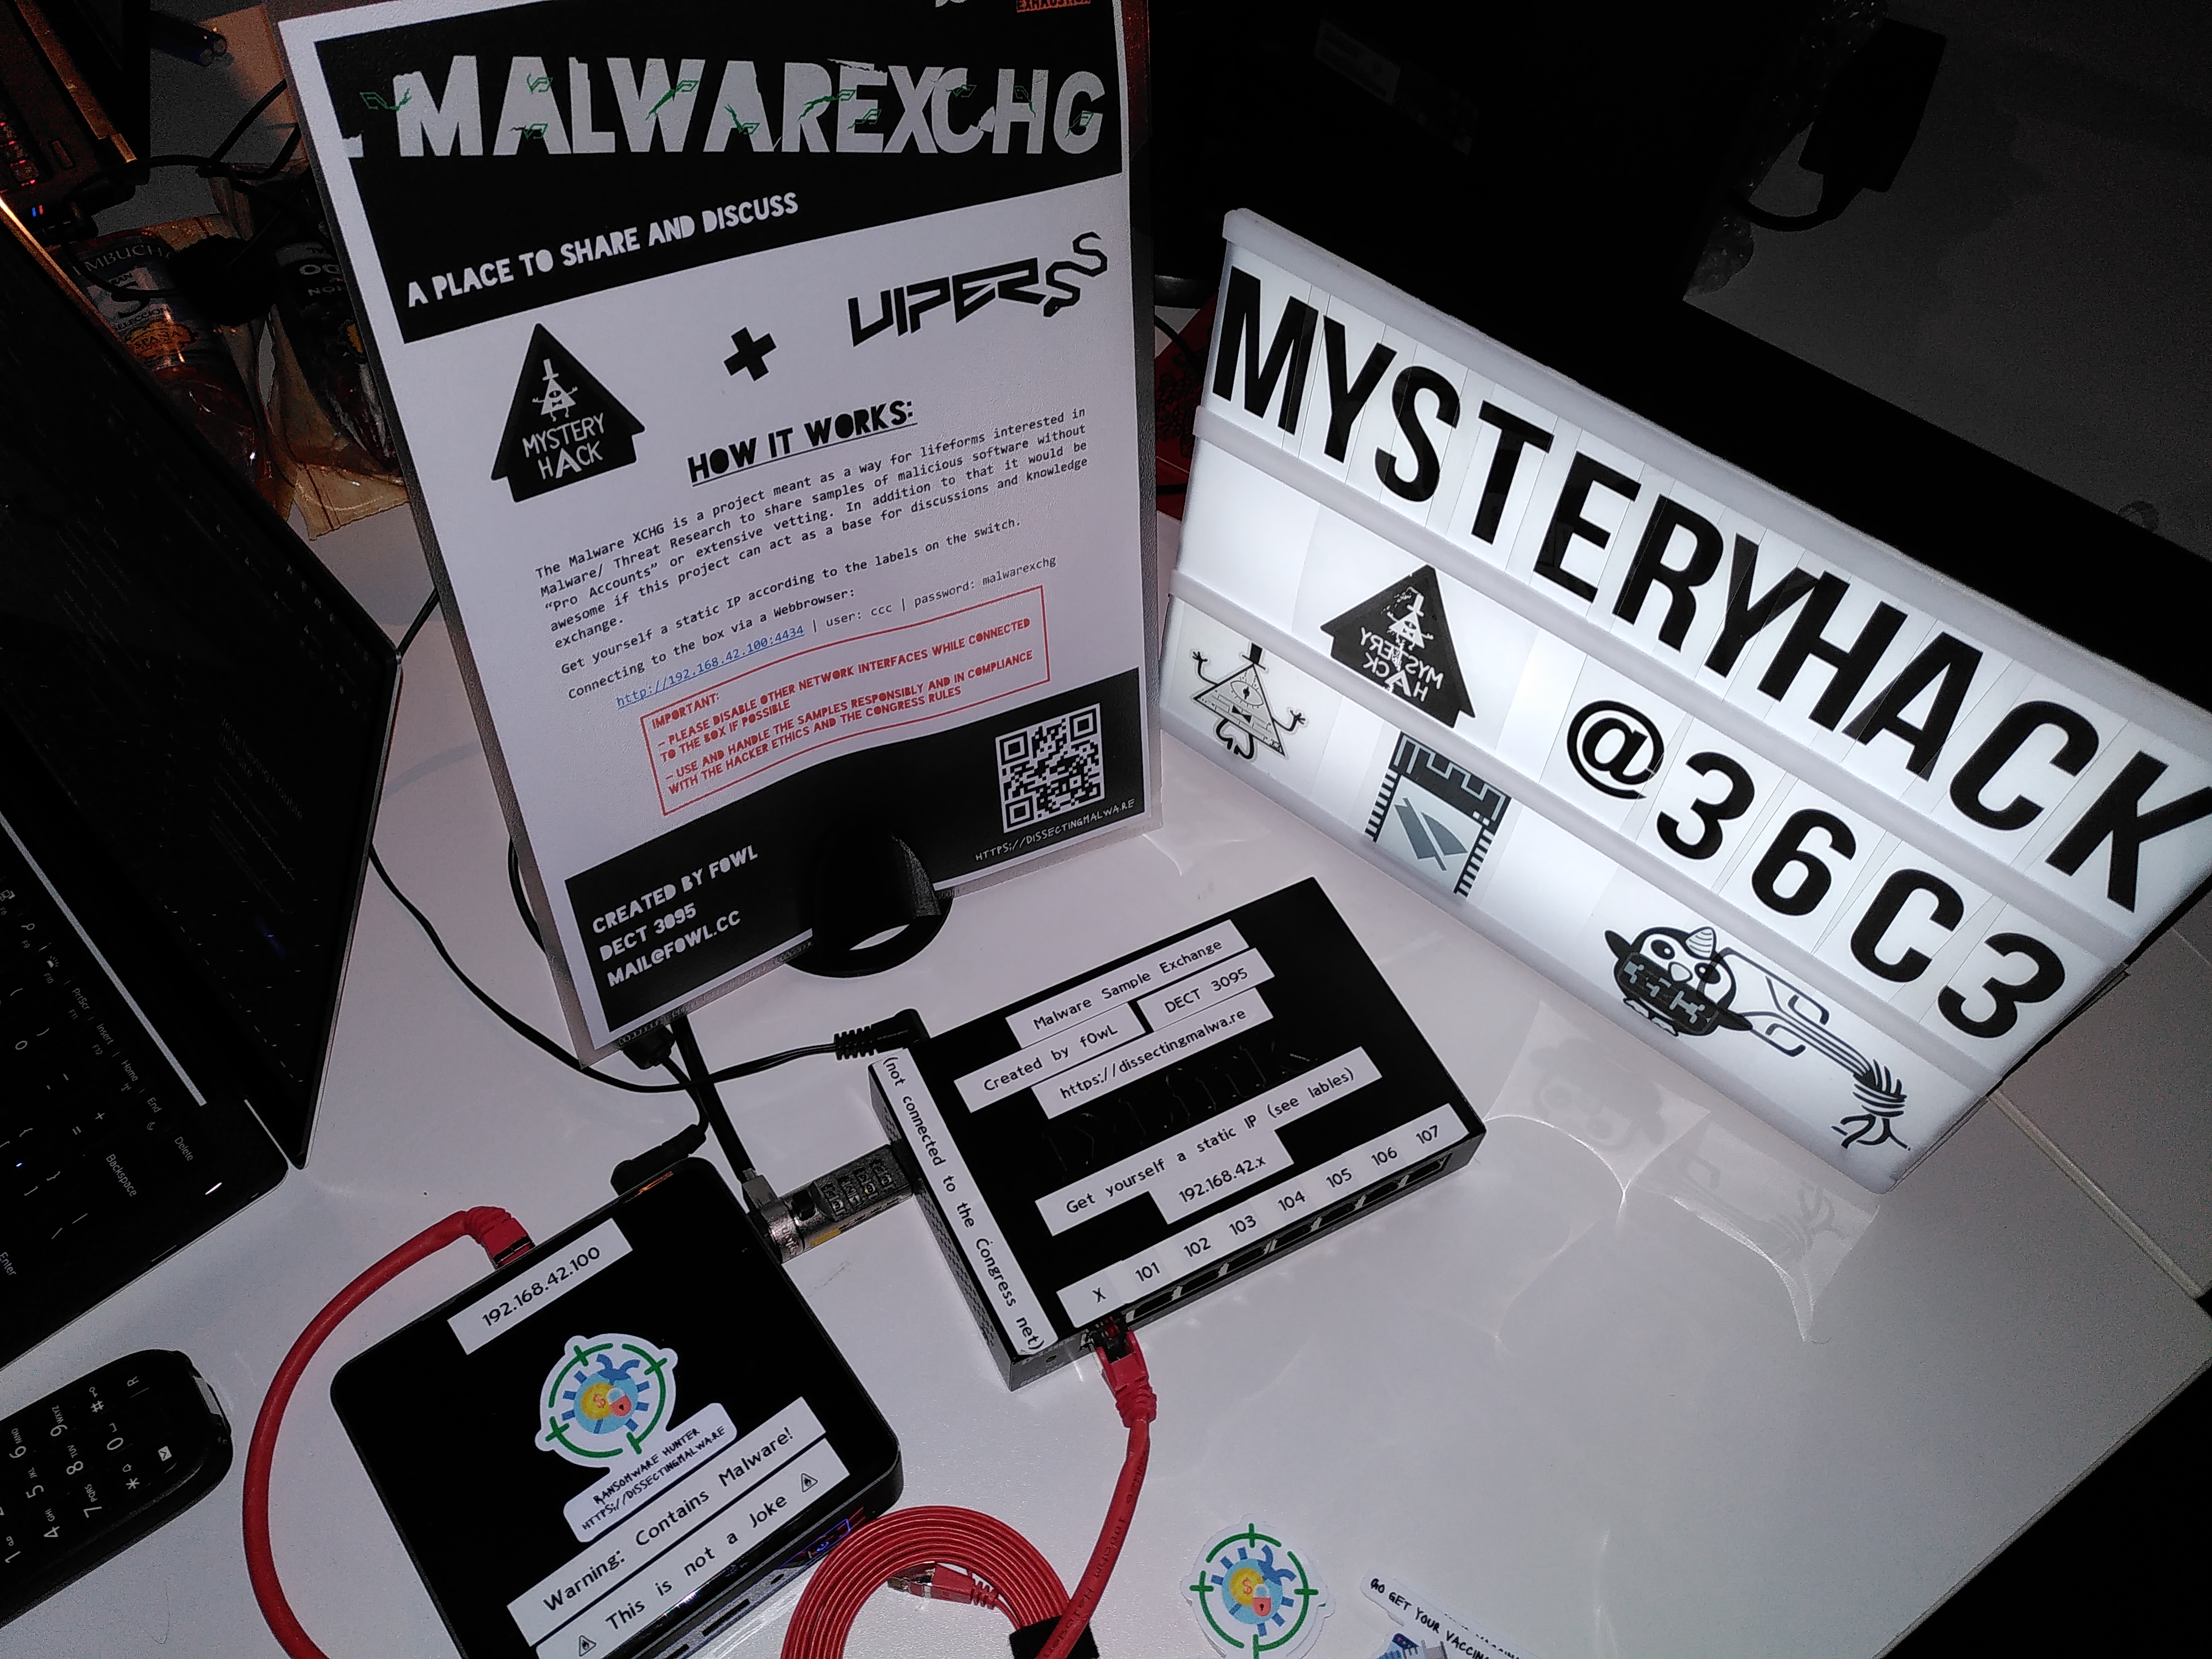
Thanks to everyone who shared samples at the Exchange and for the great conversations as well. See you all at 37c3 I guess :D
Here is a digest of all samples that were uploaded to the box by the end of Day 4:
36c3-malwarexchg-part1.zip: > Malshare
36c3-malwarexchg-part2.zip: > Malshare
36c3-malwarexchg-part3.zip: > Malshare
FancyBear (archive to large for malshare): > Hybrid Analysis
CozyBear (archive to large for malshare): > Hybrid Analysis

Hey there, I’m finally getting around to introducing the new post category “Quick revs”, which will feature short write-ups of various malware …
Hey there, it has been a while, again.. 😅 This year was pretty stressful for me so far, so I didn’t really have the time to write about malware deep …